Step-by-Step Guide on How to Repair an Air Mattress Hole
Over time, all air mattresses have some inflation loss. However, if you've discovered that your air mattress loses too much air or doesn't stay inflated, you likely have a hole.
Fortunately, air mattress repair can quickly and cheaply use a patch kit or a do-it-yourself approach. If you're willing to purchase a new mattress, you can quickly get your desired one from several stores of Mattress near me in Houston.
You must find the hole and clean the area to fix the leak. After that, patch up the leak with plastic or vinyl patches and an adhesive. You can test the patch to ensure the Mattress is no longer leaking after allowing it to set for a few hours.
We'll walk you through the essential equipment and procedures you'll need to know to fix your leaky air mattress.
Patching an Air Mattress
A few steps and materials are needed to patch an air mattress. After obtaining your supplies, proceed with the following steps:
Find the hole
Sanitize the surface
Patch the hole
Keep pressure on it, and then let it heal
Test the seal
These actions appear easy; however, some of them are more challenging. For instance, finding a tiny hole in an air mattress is not always straightforward. Precision and perseverance are needed when patching the hole. Following these instructions, you can fix your air mattress and sleep peacefully on it again.
Tools and Materials You Will Require:
Soft Cleaner: Cleaning the patched-up area and identifying the leak is made more accessible with dish soap or detergent.
Sponge or Cleaning Towel: Wet the sponge or towel to clean the air mattress. Additionally, it helps in the search for the hole.
Tissue: You can detect leaking air by placing a single tissue or paper towel on the Mattress.
Manufacturer's Patch Kit: Many air mattresses have a patch kit. These kits typically include an adhesive, an applicator, and patches made of the same material as your air mattress.
Other Patch Kit: You can buy air mattress patch kits online or from physical stores if your air mattress doesn't come with one or you can't find it. These kits include the same fundamental components as the manufacturer's kit. You can consider purchasing a package that contains patches that are the same material and color as your air mattress.
Thin plastic stuff: If you are not using a kit, you must make a patch from this material. You can use the liner from a shower curtain or another sturdy plastic.
Adhesive: If you're not utilizing a patch kit, you also need some adhesive. Use a strong adhesive that dries airtight or one designed for plastic, if possible.
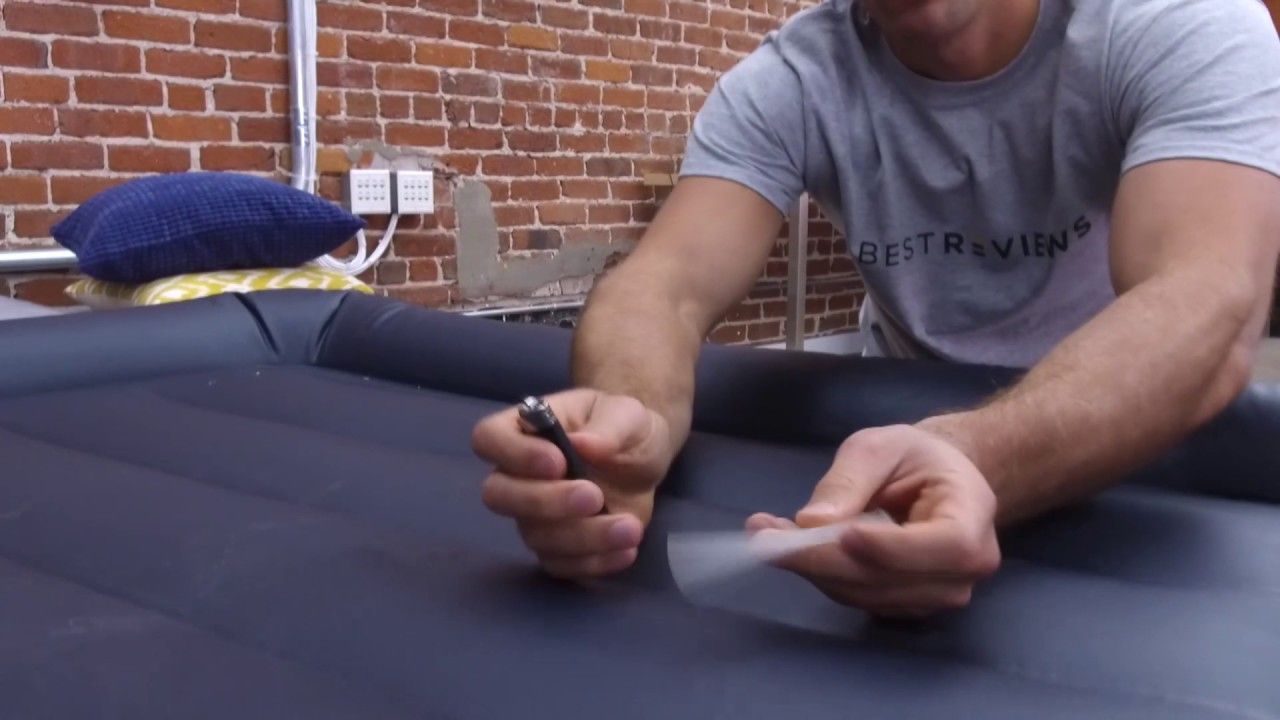
Step 1: Find the Hole
The leak in your air mattress may occasionally be apparent, but it may be challenging to locate the hole. You can follow a few procedures to find the leak.
Before anything else, inflate the Mattress and set it flat on the ground. Once it has increased, look over it to look for any damage. By resting your hand over the affected region and feeling for escaping air, you can pinpoint the leak's location if you notice any scuffs or tears. Examine the seams and air intake regions because holes frequently form in these places.
If there are no apparent problems, run your fingers over the entire mattress' surface to check for air leaks. Lay your ear against the bed's top while still lying on it. Pay attention to any air leak sounds.
The next option uses a single tissue or paper towel. Place the tissue on the air mattress' surface beginning in a corner. Then, apply light pressure to the Mattress and direct air in that direction. Continue using this technique by spreading the tissue across the Mattress and blowing air in its approach. You can tell that an air leak is about to occur if the tissue blows upward.
The soapy water approach is the last option. A damp sponge or cloth and a mild cleanser are required for this. When soap bubbles start to develop, rub the cleaner into the sponge. Then press down and guide air toward the place where the sponge was applied to the Mattress. You'll know you've found the hole if you witness expanding bubbles.
Stage 2: Sanitize the Surface
It's best to clean the surface to ensure the patch and glue adhere. Moisten the region close to the leak with a wet cleaning cloth. After using a mild cleaner, such as dish soap or detergent, gently scrub the surface with the fabric.
Use a clean cloth to remove the soap from the Mattress after rinsing it. Before attempting to patch the hole, allow the surface to dry out thoroughly in the air.
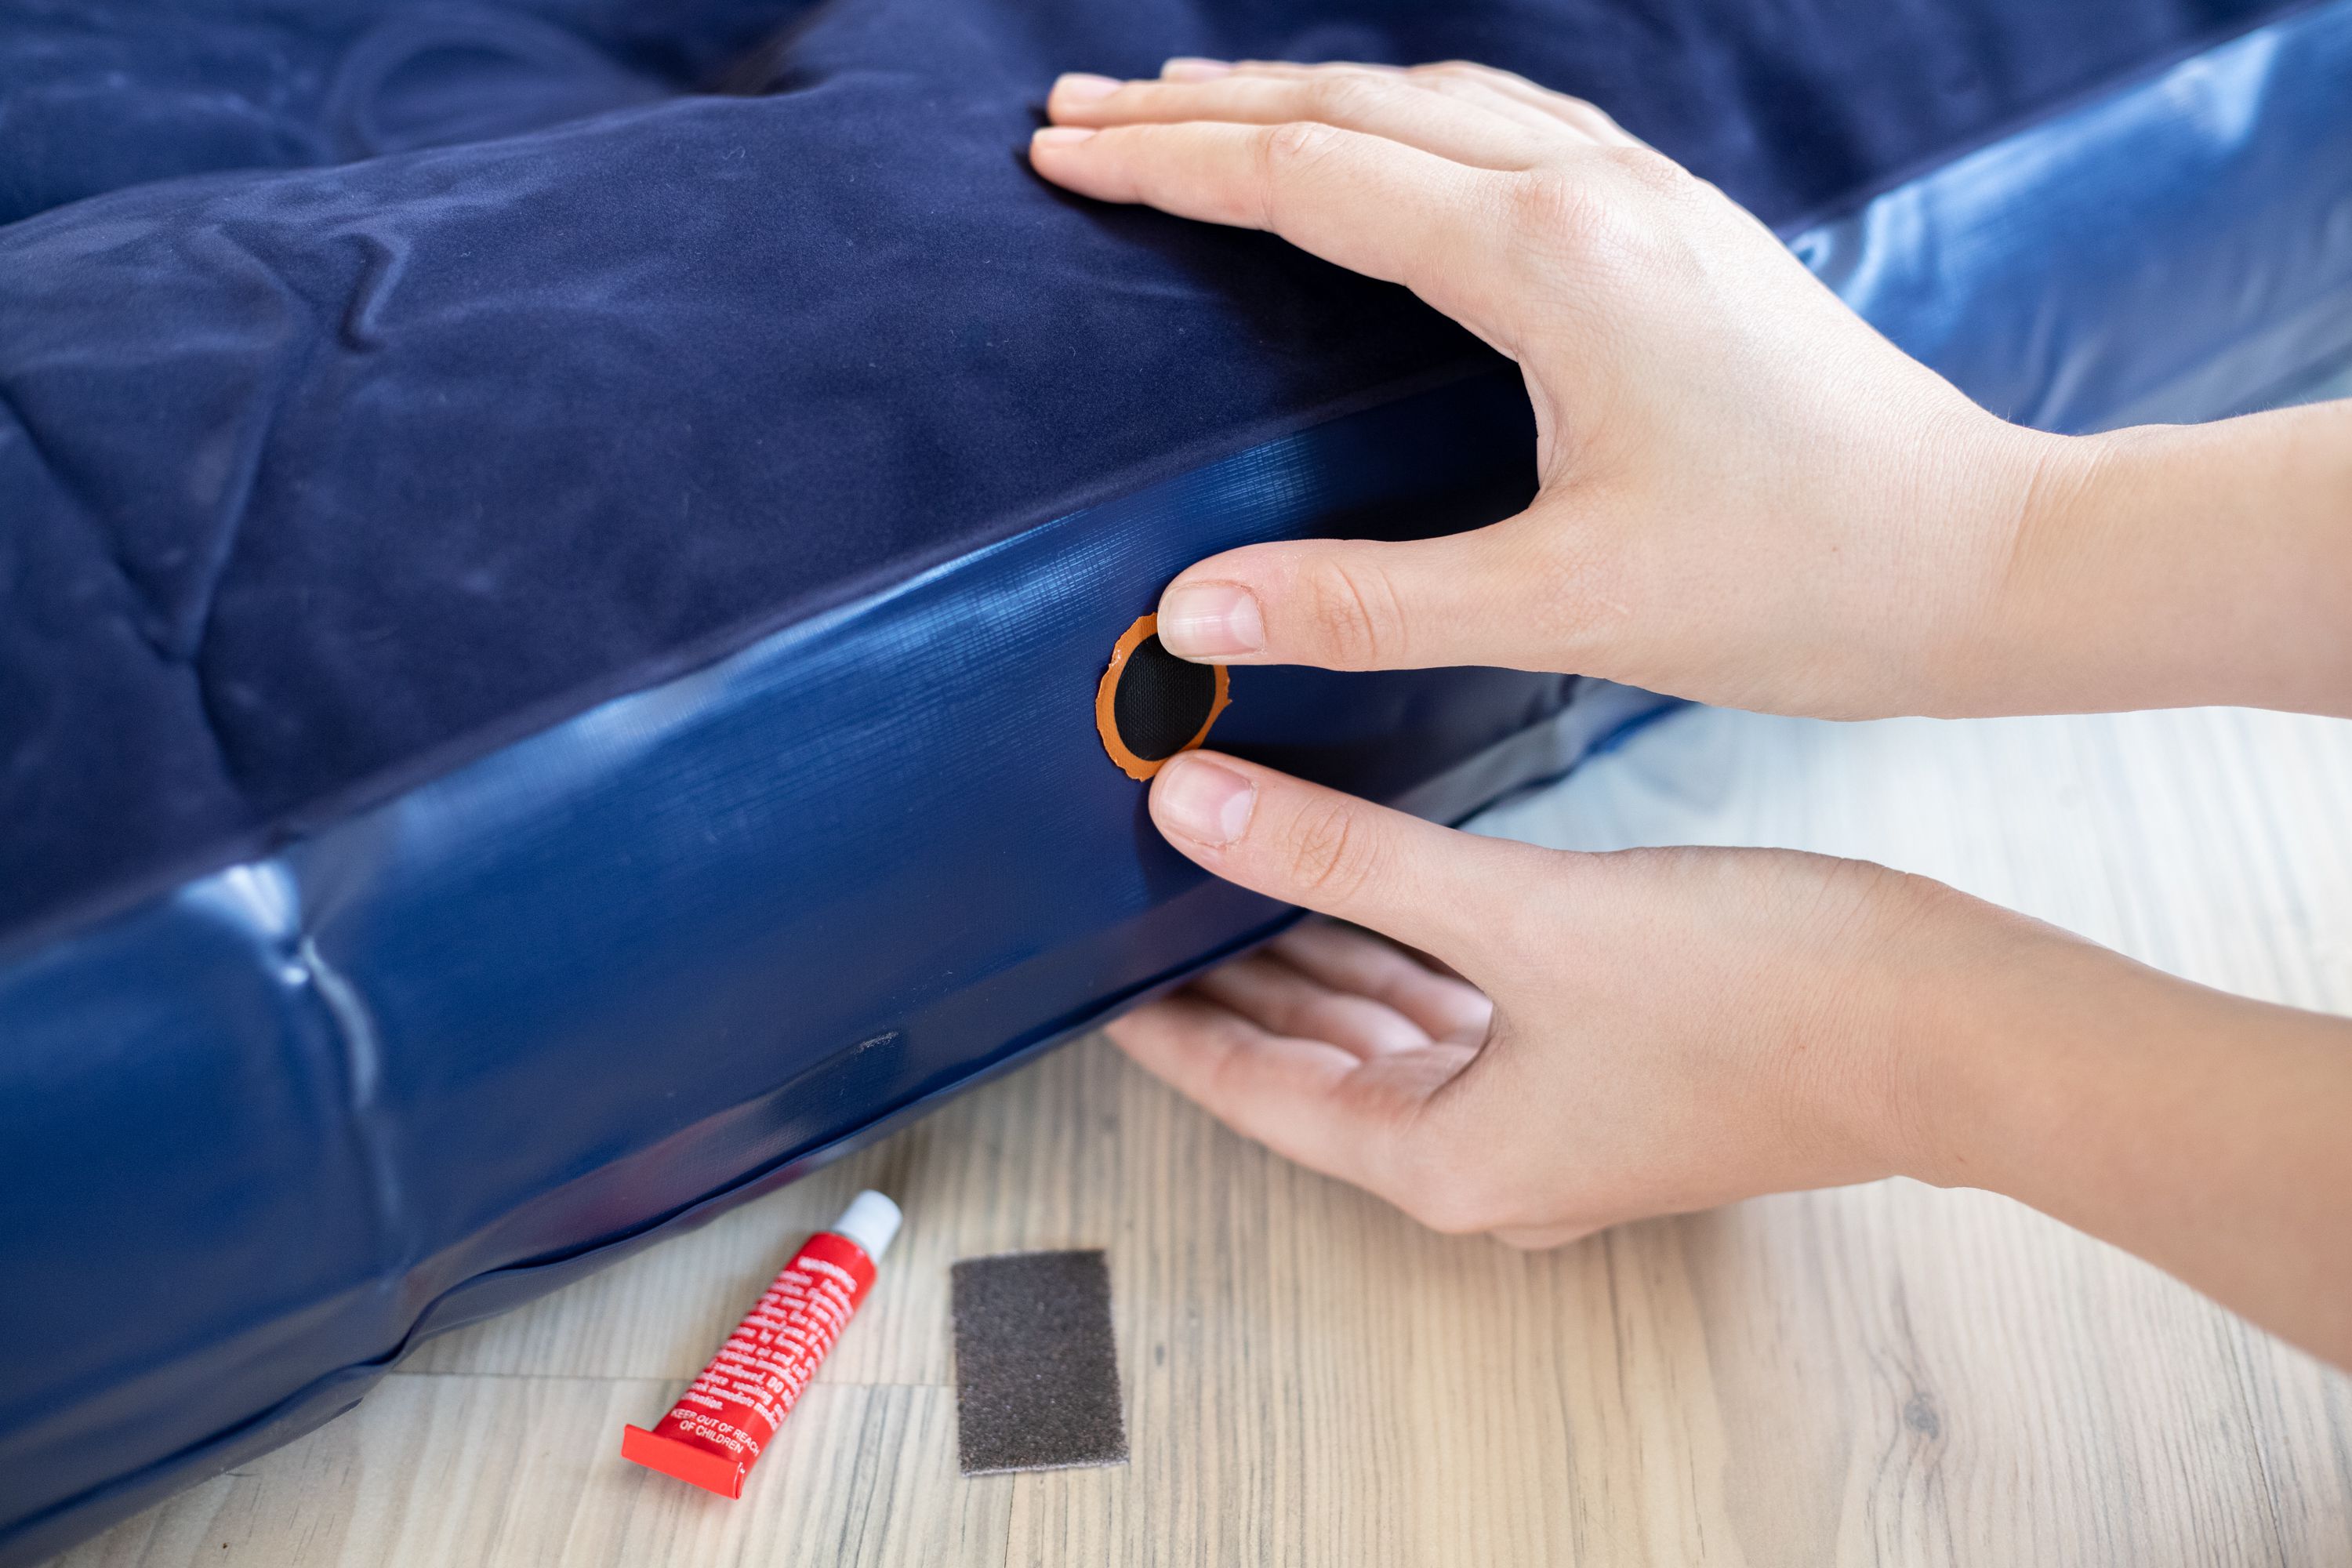
Step 3: Patch the Hole
Use the patch kit according to the manufacturer's or third party's instructions if you're using one.
The first step for individuals attempting to repair the leak with home items is to deflate the Mattress. Place it on a level surface with the hole facing outward. From the plastic material, cut a patch. In most cases, the patch should be large enough to cover the gap, plus an additional half-inch of plastic.
Apply adhesive around the patch's outer edge. Cover the hole entirely by gently pressing the patch onto the surface of the air mattress. To prevent a new spot from forming the following time you inflate the Mattress, ensure no adhesive seeps through the hole and onto the mattress base.
Step 4: Keep Pressure on It, And Then Let It Heal
It's crucial to apply pressure and give the patch time to set if you want it to stay in place.
Put a flat object on top of the patched area, such as a hefty book or box. Doing so can prevent the patch from slipping and guarantee that the adhesive sticks to the surface completely. Make sure there isn't any extra adhesive around the patch's edges that can cause the Mattress to stick to the heavy object.
After curing your air mattress for around 8 hours, remove the burden and inspect the patch.
Step 5: Test the Seal
The next step is to test the seal once the patch has been applied and has had some time to set. This will guarantee that the leak has been fixed and that the air mattress won't deflate the next time you use it.
Inflate the Mattress completely. Place it on the floor and apply pressure to force air toward the patch. Try to feel or hear for any escaping air. Lie on the Mattress for a while if the seal seems tight to see if the Mattress starts to deflate. The hole has been sealed if the air mattress doesn't seem to be losing air.
Conclusion
Patching the hole in the air mattress is relatively easy when you follow our mentioned steps carefully. If the Mattress continues to lose air despite the patch being solid, there might be another hole. Find the second leak and fix it by starting at the beginning, or it may be the time to purchase a new mattress.
Consider purchasing your Mattress near me in Houston from Bien Home Furniture & Electronics. They have a variety of durable mattresses at affordable prices.
Appreciate the creator