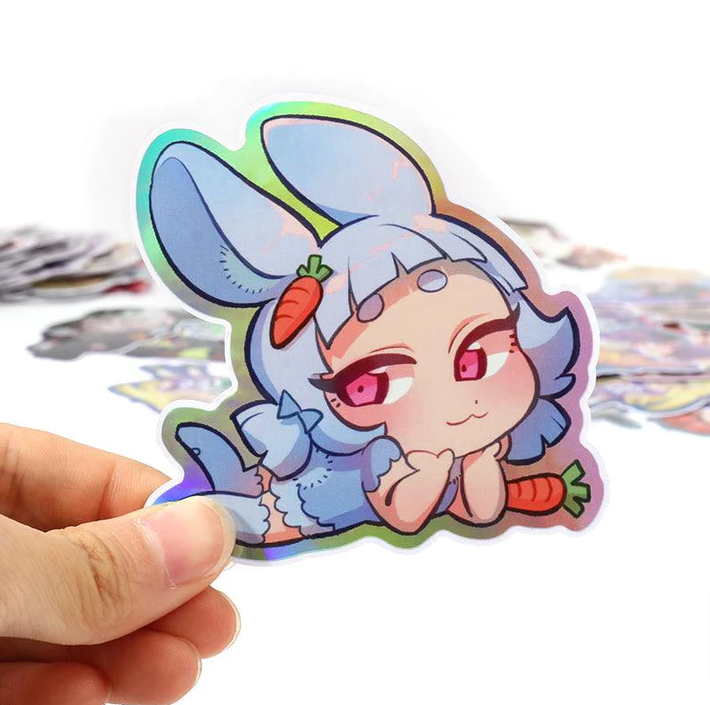
Design Your Custom Die Cut & Vinyl Stickers: A Step-by-Step Guide
In a world where self-expression knows no bounds, the art of crafting your own custom die cut stickers and vinyl stickers provides a unique avenue for unleashing your creativity. This guide will navigate you through the exhilarating process of making your own sticker design, offering insights into the world of adhesive artistry with a focus on custom die cut and vinyl stickers.

1. Clarify Your Purpose:
Before diving into the design phase, clarify the purpose of your stickers. Are you expressing your personality, promoting a brand, or creating bespoke gifts? Understanding the intent will guide your design choices and help convey the desired message through your custom die cut or vinyl stickers.
2. Seek Inspiration:
Inspiration is the spark that ignites creativity. Explore various sources, from art blogs to nature walks, to gather ideas that resonate with you. Look for colour schemes, shapes, and themes that evoke the emotions you want your stickers to convey. This exploration will set the foundation for your unique design journey.
3. Choose the Right Design Software:
Selecting the right design software is crucial for translating your vision into a digital masterpiece. Platforms like Adobe Illustrator or Inkscape provide robust tools for creating vector-based designs essential for custom die cut stickers. Alternatively, user-friendly options like Canva can be excellent for beginners diving into the world of graphic design.
4. Play with Shapes and Sizes:
Custom die cut stickers offer endless possibilities when it comes to shapes and sizes. Experiment with classic rectangles, playful polygons, or bespoke shapes that align with your design concept. Consider where your stickers will be placed and tailor the sizes accordingly for optimal visual impact.
5. Embrace the Colour Palette:
The colour palette sets the tone for your sticker design. Stick to a cohesive and harmonious selection of colours that resonate with your inspiration. Whether you opt for vibrant hues or subtle shades, the colour palette plays a crucial role in conveying the mood and style of your custom die cut or vinyl stickers.
6. Typography Matters:
If your design involves text, pay careful attention to typography. Experiment with different fonts, sizes, and arrangements to find a combination that complements your overall aesthetic. Ensure the text is legible and aligns seamlessly with the visual elements of your sticker design.
7. High-Quality Images Elevate Your Design:
Incorporating images into your design? Ensure they are high-quality and relevant to your theme. Platforms like Unsplash and Pixabay offer an array of royalty-free images suitable for creative use. High-quality images enhance the overall appeal of your custom die cut or vinyl stickers.
8. Vectorize for Precision:
For custom die cut stickers, vector graphics are indispensable. Vector files allow for scalable designs without compromising quality. Vectorize your design elements to ensure that the intricate contours and shapes are precisely replicated during the cutting process.
9. Consider the Finish:
Think about the finish that complements your design. Matte finishes exude a subtle sophistication, while glossy finishes offer vibrancy and polish. The finish contributes to the tactile and visual appeal of your custom die cut or vinyl stickers.
10. Test Your Design:
Before committing to a full-scale print run, conduct a test print of your design. This step allows you to assess colours, shapes, and overall satisfaction with the design. Make any necessary adjustments to perfect your custom die cut or vinyl sticker creation.
11. Choose the Right Vinyl Material:
When opting for vinyl stickers, the choice of material is critical. Consider factors such as the intended use and environmental conditions to select the right vinyl material. This ensures durability and longevity for your bespoke stickers.
12. Printing and Production:
Once satisfied with your design and test prints, proceed to the final printing and production stage. Collaborate with reputable printing services that specialize in custom die cut or vinyl stickers. This collaboration ensures the quality and precision of the final product, bringing your digital designs to tangible fruition.
13. Revel in the Results:
As your custom die cut or vinyl stickers come to life, take a moment to revel in the satisfaction of seeing your designs transform into tangible, adhesive artworks. Whether adorning personal items, promoting a brand, or sharing bespoke gifts, your stickers serve as unique extensions of your creativity and style.
Embarking on the journey of making your own custom die cut or vinyl stickers is a thrilling experience that fuses artistry with technological finesse. With purpose, inspiration, and attention to design details, you can craft stickers that not only adhere to surfaces but leave a lasting impression, adding a touch of bespoke creativity to the world of adhesive artistry.
Appreciate the creator