Can I Do Photo Enhancement On iPhone?
If you're reading this on your iPhone right now, open your Camera Roll. Scroll for 10 seconds. How many photos are in there that are almost perfect? The lighting is a little dull, the colors are washed out, the background is messy, or your real estate shot looks like it was taken inside a cave.
I've been there. For the last 7 years I've shot almost everything on an iPhone - from family trips to last-minute client real estate projects when my main camera died on the job. And the question I get asked all the time is this: Can I actually do real photo enhancement on iPhone, or do I need a laptop and Photoshop?
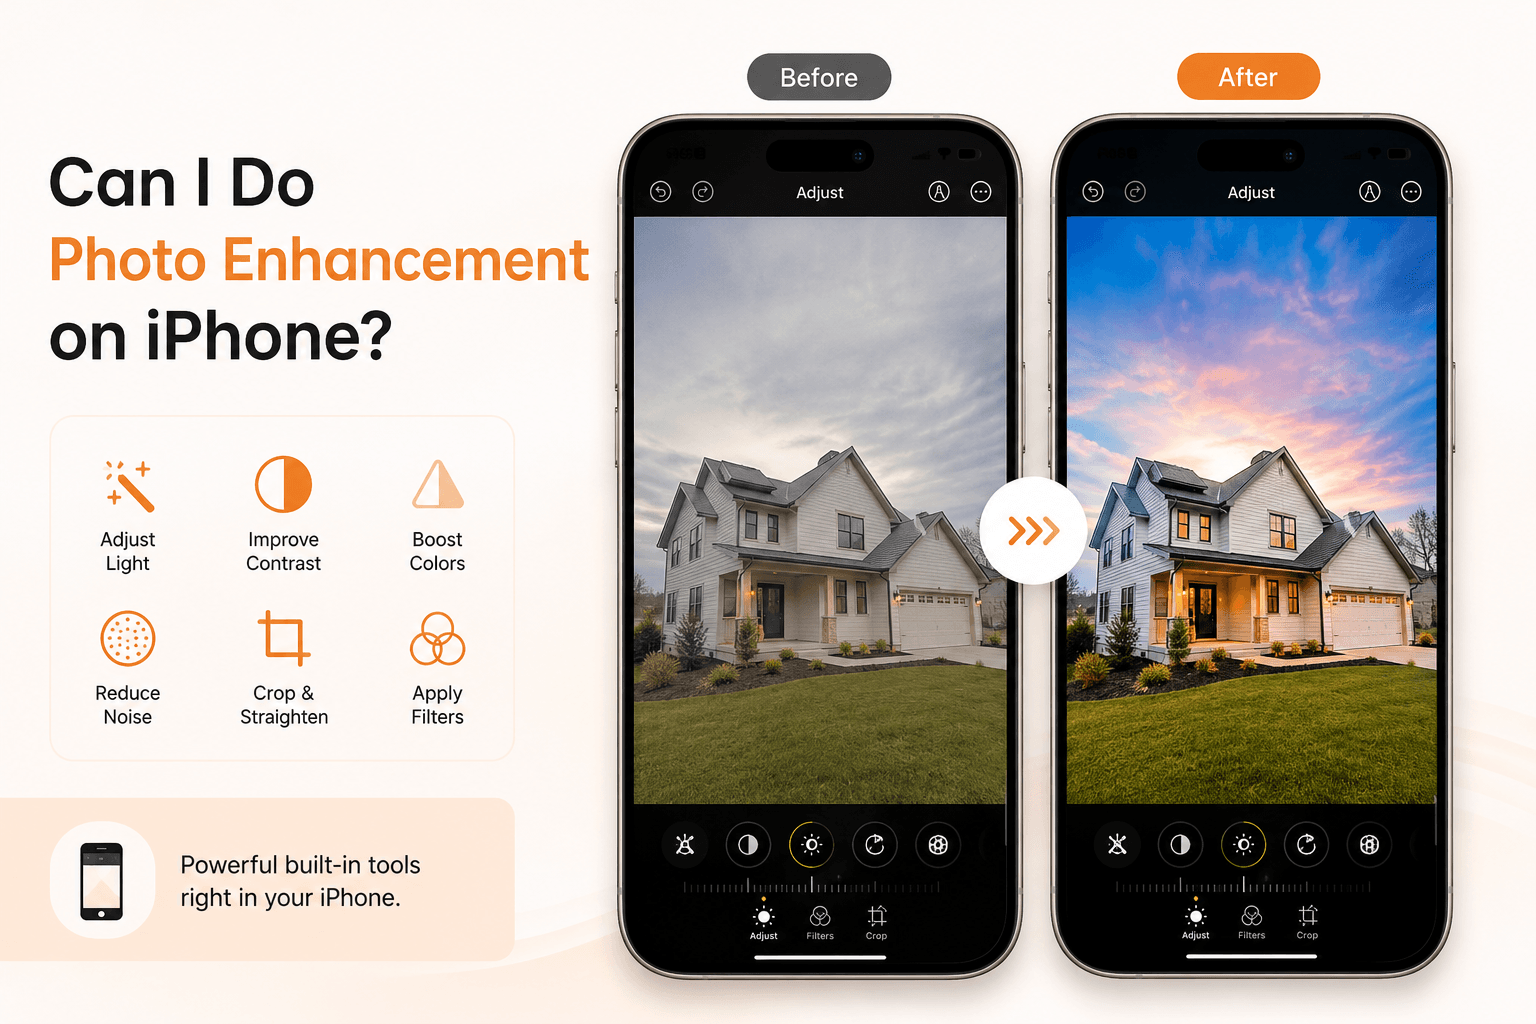
Short answer: Yes, you can. And you can do a shockingly good job right from your phone.
Long answer: There's a right way to do it, a wrong way to do it, and a point where your iPhone hits a wall - especially if you're shooting for business, like real estate.
I can make an iPhone photo look great in 2 minutes with the built-in tools. But when it comes to a real listing where the windows need to be perfectly exposed, the colors need to be MLS-compliant, and the sky needs to be replaced - that's when I send my shots to PixelShouters. (https://www.pixelshouters.com/)
PixelShouters is a professional real estate photo editing (https://www.pixelshouters.com/real-estate-photo-editing-services/) company that handles all the stuff your iPhone can't do properly - HDR blending, white balance correction, sky replacement, object removal, and virtual staging. I shoot on my iPhone, they make it listing-ready.
So in this complete guide, I'll show you exactly what you can and can't do on your iPhone. No tech jargon, just what actually works - and when it's smarter to let a team like PixelShouters handle Photo enhancement (https://www.pixelshouters.com/real-estate-photo-editing-services/).
What Do We Mean By "Photo Enhancement" Anyway?
People use this term loosely. Enhancement is not just slapping a filter on and calling it a day. Real enhancement is fixing what the camera got wrong and making what’s already good, better.
When we talk about photo enhancement on iPhone, we’re usually talking about 5 things:
1. Light and Exposure Correction: Fixing photos that are too dark, too bright, or where the window is completely blown out while the room is dark. This is the number one problem with iPhone photos.
2. Color Correction: iPhones are smart, but they still get white balance wrong indoors. That yellowish tint you get under warm lights? That’s what we fix.
3. Clarity and Sharpness: Making details pop without making the photo look crunchy and fake. This is where most beginners ruin their photos.
4. Cropping and Straightening: That slight tilt that makes a room look like it’s sliding. Or the trash can in the corner you didn’t see when you shot it.
5. Retouching: Removing small distractions - wires, spots on the lens, a reflection in the mirror.
If you can do those five things on your iPhone, you can enhance 90% of your photos. And yes, your iPhone can do all of them natively.
Yes, You Can Do Photo Enhancement on iPhone - Here’s How Powerful It Really Is
Let’s get rid of the myth that you need a MacBook Pro and Lightroom Classic to edit decent photos. The iPhone you have in your pocket right now is more powerful than the computers they used to edit magazine covers in 2005.
Apple has quietly turned the default Photos app into a legit editor. If you have an iPhone 12 or newer, you also have access to some insane hardware-level stuff.
What you can do WITHOUT downloading anything:
Go to your Photos app right now. Open any photo and tap Edit. You’ll see that magic wand and all the sliders below.
That’s not a toy. That’s a full editing suite.
Here’s what each tool actually does in real life:
Auto (The Magic Wand): Don’t dismiss it. Apple’s auto-enhance in iOS 17 and iOS 18 got ridiculously good. It analyzes 1000s of data points in your photo and balances exposure and color in one tap. I use it as a starting point 70% of the time. Tap it, then dial it back a little if it looks too much.
Exposure & Brilliance: Exposure is overall brightness. Brilliance is Apple’s secret weapon. It brightens dark areas and pulls down bright areas intelligently without making the photo look HDR-fake. If your real estate photo has a dark room and a bright window, Brilliance is your best friend.
Highlights & Shadows: This is where you save a photo. Drag Highlights down to -70 to -90 to bring back detail in bright windows and skies. Drag Shadows up to +30 to +50 to lift a dark room. This one slider combo fixes 80% of bad interior photos.
Contrast & Brightness: Be careful with these. Most people crank Contrast way too high. For real estate and portraits, less is more. I rarely go beyond +10 or -10.
Black Point: This is a pro trick. If your photo looks washed out or hazy, drag Black Point down slightly to -5 to -15. It instantly adds depth without looking edited.
Saturation & Vibrance: Big difference here. Saturation boosts ALL colors equally and makes people look like Oompa Loompas. Vibrance only boosts the dull, muted colors and leaves skin tones alone. For everything, use Vibrance. Leave Saturation alone unless you really know what you’re doing.
Warmth, Tint, Sharpness, Definition: Warmth fixes that yellow/blue color cast. Sharpness and Definition are great but easy to overdo. If you go past +25 on Sharpness on an iPhone photo, you’ll start seeing ugly noise, especially in low light.
In 60 seconds, you can take a dull, yellowish living room photo and make it bright, clean, and listing-ready just with these built-in tools.
The Hidden iPhone Camera Settings That Make Enhancement 10x Easier
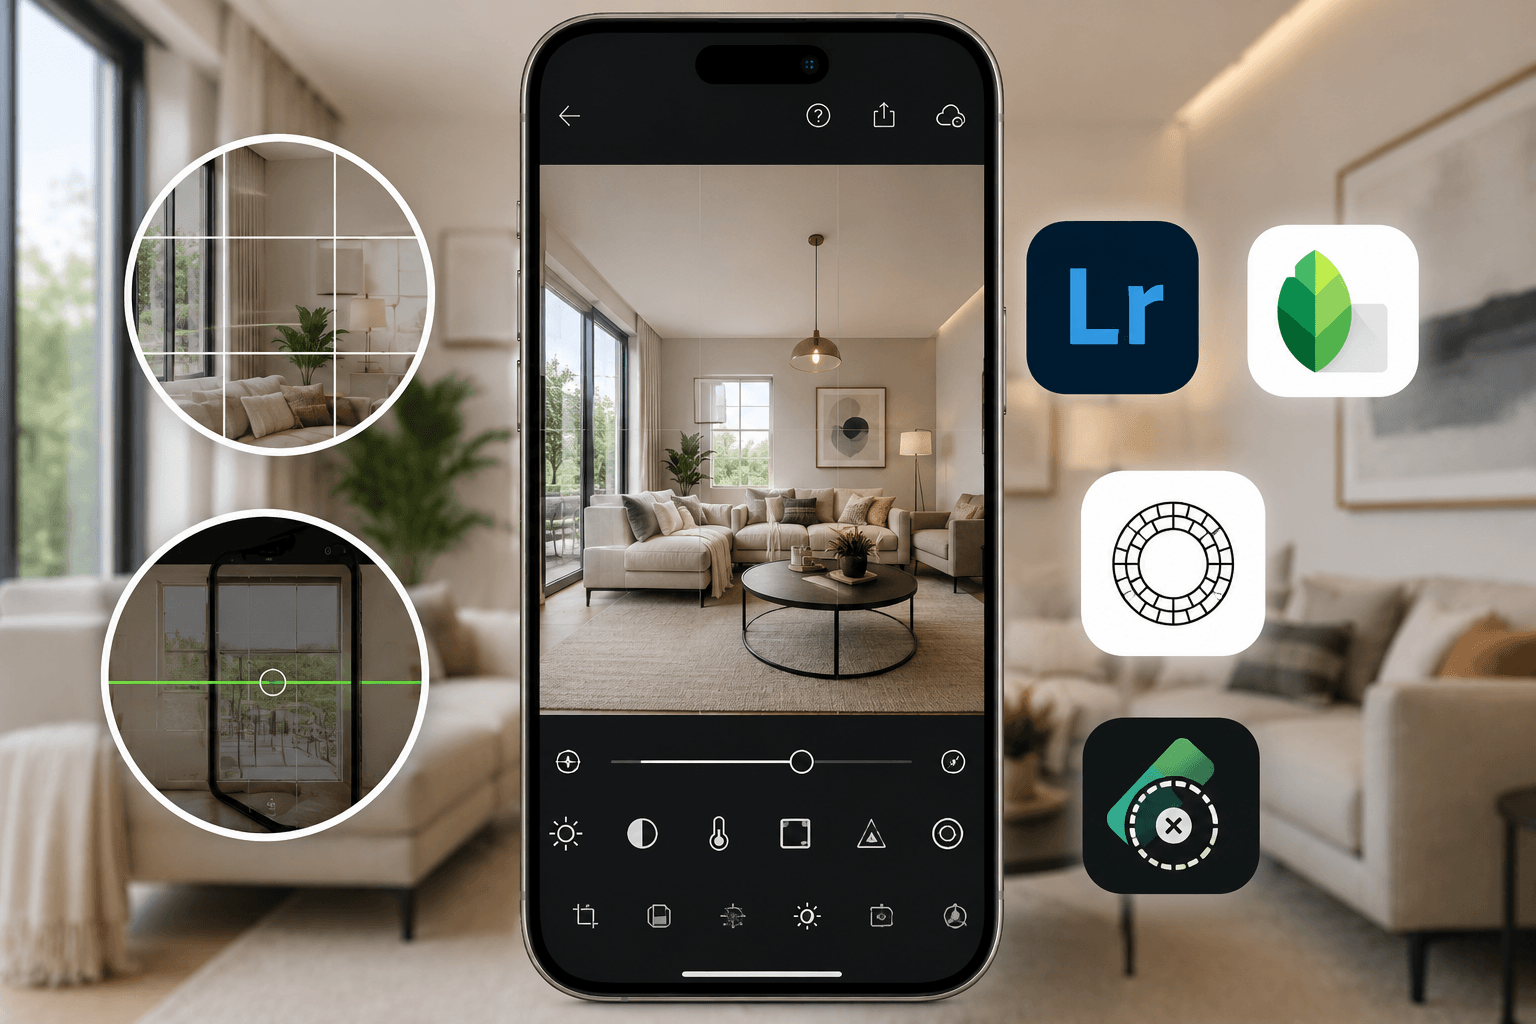
If you want to enhance less later, shoot better now. These are the settings I tell every client to turn on:
1. Turn on ProRAW (if you have a Pro model): Go to Settings > Camera > Formats > Apple ProRAW. Why? A normal iPhone photo (HEIF/JPEG) throws away a ton of data to save space. ProRAW keeps all that data. That means when you edit, you can pull up shadows 3x more before the photo falls apart. It takes more space, but for important shoots, it’s non-negotiable.
2. Use Photographic Styles: On iPhone 13 and newer, go to Camera and swipe up to find Photographic Styles. This is NOT a filter. It’s like telling your iPhone how you like your photos to look before it takes them. For real estate, I use Rich Contrast but turn Warmth down to -20. It gives you clean, crisp photos straight out of camera.
3. Lock Exposure and Focus: Tap and hold on your subject until you see AE/AF Lock. Then swipe down to slightly darken the image. iPhones tend to overexpose interiors. Shooting a little dark gives you way more to work with in editing. You can always brighten a dark photo, but you can’t fix a completely white, blown-out window.
4. Turn on Grid and Level: Settings > Camera > Grid and Level. For real estate, straight vertical lines are everything. The level tool will show you when you’re perfectly straight.
The Best Photo Enhancement Apps for iPhone in 2026
The built-in Photos app is great for 80%. For the other 20%, you need apps. Here are the ones actually worth your storage, based on what I use daily:
1. Adobe Lightroom Mobile (Free / Paid): This is the industry standard for a reason. The free version is powerful enough for most people. What makes it special on iPhone is selective editing. You can tap on the sky and only brighten the sky. You can tap on a wall and fix just the wall color. It also has amazing presets. If you do any kind of client work, get Lightroom Mobile. The healing brush alone is worth it.
2. Snapseed (Free - Made by Google): The most underrated app ever. Completely free, no ads. Two tools inside it are magic: Selective tool - tap on a dark corner and brighten just that spot. And Perspective tool - it lets you fix that leaning wall effect where walls look like they’re falling backwards. For real estate shot on iPhone, Perspective is a lifesaver.
3. VSCO: If you hate spending time editing but want that clean, film-like look, VSCO is it. Its presets are way more natural than Instagram’s. A5 and C1 are perfect for bright, airy real estate photos.
4. TouchRetouch: Costs like $2 but does one thing perfectly - removes objects. Power lines out the window? A trash bin in the driveway? One swipe and it’s gone. It’s scary how clean it is.
5. Lightroom + Photoshop Express Combo: For when you need to replace a sky. If you shot a house on a cloudy grey day, these apps let you drop in a blue sky in about 10 seconds.
My workflow for a quick enhancement on iPhone? Lightroom Mobile for color and light, Snapseed for straightening and perspective, TouchRetouch for cleanup. Total time: 3-4 minutes per photo.
Step-by-Step: How I Enhance a Photo on My iPhone in Under 2 Minutes
Let me walk you through my actual process. Let’s say you shot a bedroom and it came out dark and yellow.
Step 1: Straighten First. Open in Photos app > Edit > Crop. Use the auto straighten, then manually make sure the vertical door frame is perfectly vertical. Crop out any clutter at the edges. A good crop makes any photo look more professional instantly.
Step 2: Fix Light. Exposure +15, Brilliance +40, Highlights -80, Shadows +45, Black Point -10. Watch how the room opens up. The window detail comes back, the dark corners brighten.
Step 3: Fix Color. Warmth -15 to remove yellow, Vibrance +20. If the whites still look off, go to Lightroom and use the White Balance eyedropper on something you know should be white, like a ceiling.
Step 4: Add Pop (Carefully). Definition +15, Sharpness +10. That’s it. Don’t go more.
Step 5: Save as Copy. Always tap Duplicate before you edit a client photo. You want to keep the original.
That’s it. That’s a professional-level enhancement done entirely on your phone while standing in the room.
Now, Let’s Talk About Real Estate Photo Editing on iPhone - The Honest Truth
Here’s where I have to be honest with you, especially if you are a realtor, an Airbnb host, or a real estate photographer.
You CAN enhance real estate photos on your iPhone. For a quick Instagram story, a WhatsApp update to a client, or a rental listing that needs to go live in 10 minutes, your iPhone is perfect.
But for a high-ticket MLS listing, a luxury property, or a portfolio that needs to make people stop scrolling? Your iPhone alone is not enough.
Why? Because real estate editing is not just enhancement. It’s a different beast.
A single professional real estate photo often needs:
HDR Bracketing and Blending (combining 3-5 exposures so the inside and outside are both perfectly exposed)
True White Balance correction for mixed lighting
Lens distortion correction
Window pull / window masking to keep the view outside visible
Sky replacement that looks natural, not fake
Object removal, lawn enhancement, fire in fireplace, TV screen replacement
Virtual staging for empty rooms
You cannot do true HDR blending or perspective-perfect vertical correction consistently on an iPhone screen with your finger. You can fake it, but a trained buyer will see it. And in real estate, a photo that looks over-edited is worse than a dark photo. It destroys trust.
That’s why even top real estate photographers who shoot on iPhone 15 Pro Max still outsource the editing.
This Is Where PixelShouters Comes In
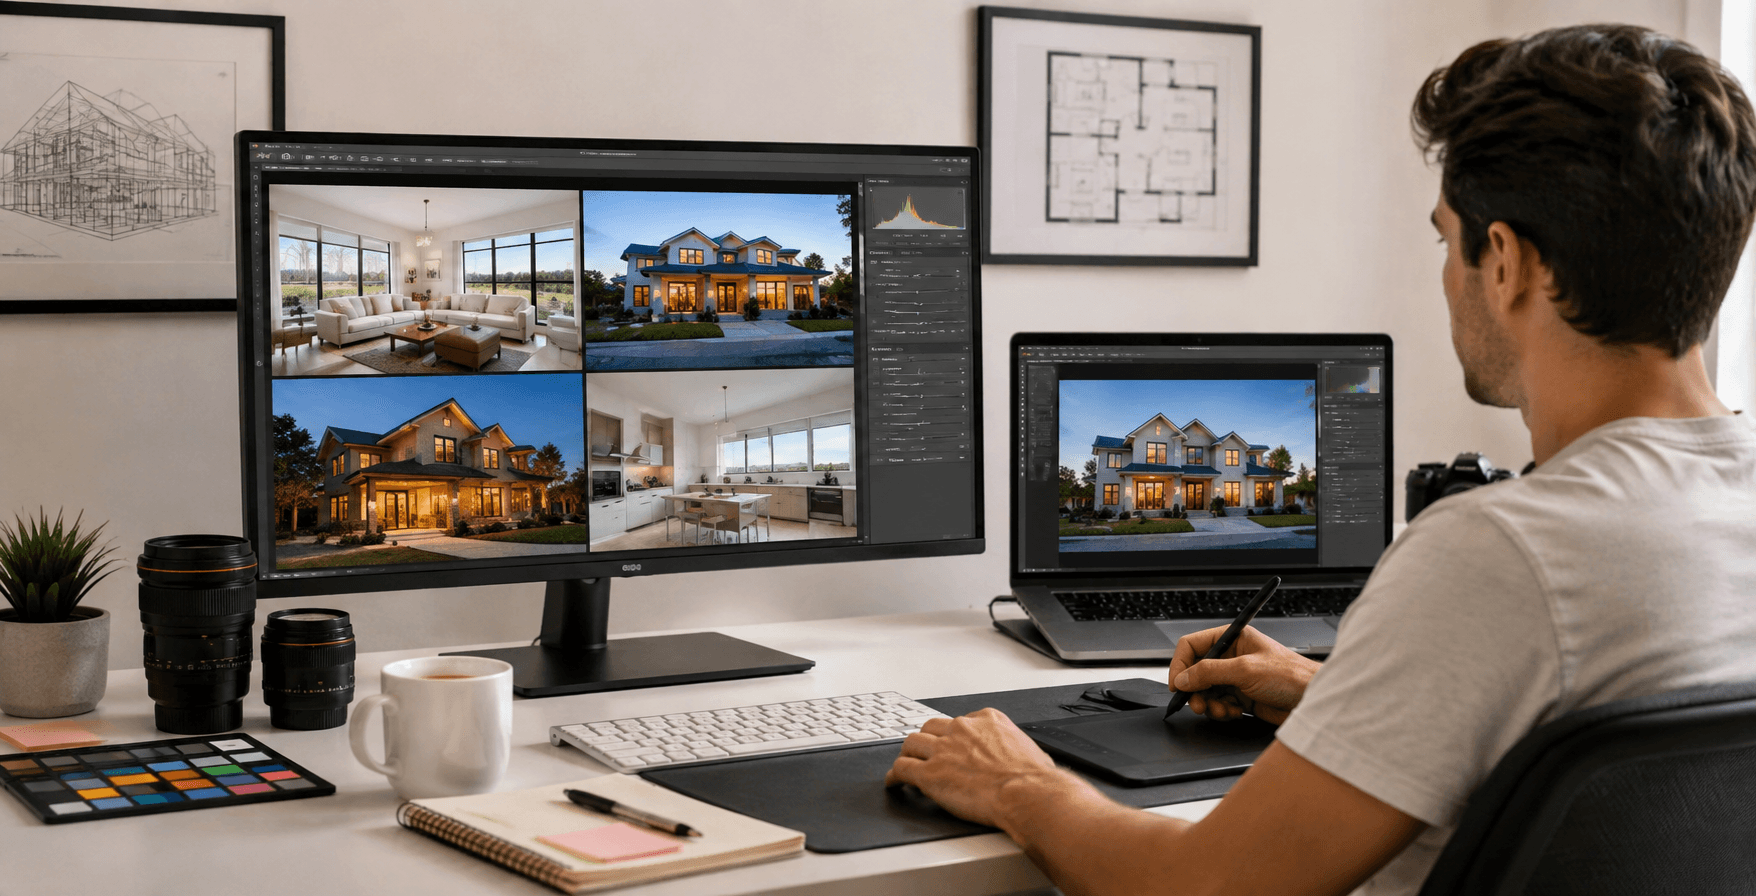
If you’re serious about real estate photography, you need to know about PixelShouters.
I’ve been following and using them for the last two years for my ownoverflow work, and they are one of the most reliable real estate photo editing companies out there right now.
PixelShouters is not a filter app. They are a dedicated team of professional editors who specialize ONLY in real estate photo editing.
Here’s what makes them different from doing it yourself on iPhone or hiring a random freelancer on Fiverr:
They understand real estate, not just Photoshop. They know that a real estate photo needs to look bright and inviting, but still real. They don’t oversaturate the grass to neon green. They don’t make the sky look like a cartoon. Their edits are MLS-compliant and look natural.
Their core services cover everything your iPhone can’t do:
HDR Photo Blending & Enhancement: You send them your bracketed shots or even a single iPhone RAW, and they blend it properly so the room is bright and the window view is still there. This is their most popular service for a reason.
Color Cast Removal & White Balance Correction: They fix those ugly yellow lights and mixed color temperatures perfectly.
Sky Replacement: Grey sky to beautiful blue sky with natural clouds. They even match the light direction so it doesn’t look fake.
Object Removal & Cleaning: Power lines, cars in the driveway, toilet seats, reflections - gone.
Virtual Staging & Virtual Renovation: They can take your empty iPhone shot of a living room and furnish it realistically. This alone has helped realtors I know sell properties 40% faster.
Lawn Enhancement, Day to Dusk, Floor Plan, Image Enhancement: Basically everything you need to make a listing stand out.
Why I recommend them for iPhone shooters: Their process is built for busy people. You can shoot on your iPhone, upload your photos via their website or app, and get professionally edited, listing-ready images back in 12-24 hours, often with same-day delivery. You don’t need to learn Photoshop. You shoot, they edit.
If you’re a realtor shooting 3-4 houses a week on your phone, trying to edit each photo for 5 minutes adds up to hours. PixelShouters gives you that time back. For less than a dollar per image, you get magazine-quality photos that actually help you win listings.
I’ve seen realtors double their inquiry rate just by switching from self-edited iPhone photos to professionally edited photos from a service like PixelShouters. It’s that big of a difference.
You can check them out at PixelShouters - they do real estate photo editing for photographers, realtors, and agencies worldwide, and they offer free trials so you can see the difference between your iPhone edit and their pro edit.
iPhone Enhancement vs. Professional Editing: Which Should You Choose?
Here’s a simple rule I use:
Use iPhone enhancement when:
You need speed over perfection (social media, quick client update)
You’re shooting for yourself, family, vacation
You only have 5-10 photos to edit
Use a professional service like PixelShouters when:
You’re shooting for money - real estate listings, Airbnb, commercial
You have 100+ photos from a shoot
You need consistency across all photos
You need advanced edits like sky replacement, HDR blending, or virtual staging
You want your photos to look expensive and trustworthy
The smartest realtors I know do both. They use their iPhone to shoot and do a quick enhancement on-site to show the homeowner how great it will look, then they send the RAW files to PixelShouters for the final, perfect version that goes on the MLS.
5 Pro Tips to Shoot Better Real Estate Photos on Your iPhone (So Editing is Easier)
Always shoot horizontal, from chest height. Not from eye level. Chest height (about 4 feet) makes rooms look bigger and more natural. And never shoot vertical for real estate.
Shoot in the corners. Stand in the doorway or the farthest corner of the room. This makes the room look 30% larger instantly.
Turn on ALL the lights, but also open ALL the blinds. You want as much natural light as possible. Then let your editor balance it.
Use a cheap wide-angle clip-on lens or a tripod. A $20 wide-angle lens from Amazon and a $25 tripod will make your iPhone real estate photos look 10x more professional. No shake, wider view.
Shoot 3 exposures if you can. In Lightroom Mobile camera, tap the HDR mode. It will take a dark, medium, and bright version. Send all three to PixelShouters. Your final blended image will be perfect.
Final Verdict: So, Can You Do Photo Enhancement on iPhone?
Absolutely, yes. For 90% of people and 90% of everyday photos, your iPhone is not just enough - it’s the best editing tool you own because it’s always with you.
You can turn a dull, lifeless photo into something vibrant and share-worthy in under two minutes without ever touching a computer.
But if you’re in real estate, understand the limit. Your iPhone can enhance, but it can’t replace a professional workflow when money is on the line. The difference between an enhanced iPhone photo and a professionally edited real estate photo is the difference between looking nice and looking like a $500k house.
My advice? Learn to do quick, clean enhancements on your iPhone for speed. It’s a skill that will serve you forever. And for your business-critical photos, build a partnership with a specialist team like PixelShouters. Let your iPhone do the shooting, let them do the heavy lifting in editing.
That’s how you get the best of both worlds - speed and quality.
FAQs
Is photo enhancement on iPhone free?
Yes. The built-in Photos app is completely free and surprisingly powerful. Apps like Snapseed are also free. Lightroom Mobile has a great free tier, but its pro features like selective edits need a subscription.
Does enhancing photos on iPhone reduce quality?
If you edit the original and save over it repeatedly, yes, you can lose quality. Always use non-destructive editing - Photos app and Lightroom Mobile don’t damage the original file until you export. And shoot in ProRAW if you can for maximum quality.
Can I enhance old photos on my iPhone?
Yes. Any photo in your library, no matter how old, can be enhanced. The newer AI tools in iOS 18 even have a Clean Up tool that can remove people from the background of old photos.
What’s the best free app for real estate photo enhancement on iPhone?
For free, use Snapseed for perspective correction and Lightroom Mobile for light and color. That combo beats almost any paid app.
How is PixelShouters different from editing on iPhone?
On iPhone, you are doing basic enhancement - brightness, color, crop. PixelShouters does full professional real estate post-production - HDR blending, sky replacement, object removal, virtual staging, lawn enhancement - at scale, with 24-hour turnaround and consistent quality you can’t get by editing one-by-one on a small screen.
Appreciate the creator